Define the reason for raising the laptop
Consider what you want to change about the current arrangement. The display may sit too low for your preferred viewing direction, or you may want it beside another monitor. A concrete task gives more useful guidance than a general promise of a tidier desk. Measure the available area and allow space behind the opened computer as well as beneath it.
Explore the intended viewing direction without creating an unstable improvised pile. A stand used regularly must suit the laptop’s weight and dimensions. Follow its manufacturer’s directions for support and safe use. This is a practical workspace decision, not an assurance that one particular height prevents discomfort or suits every person equally. Judge the arrangement in the context of your own activities.
Plan external input devices
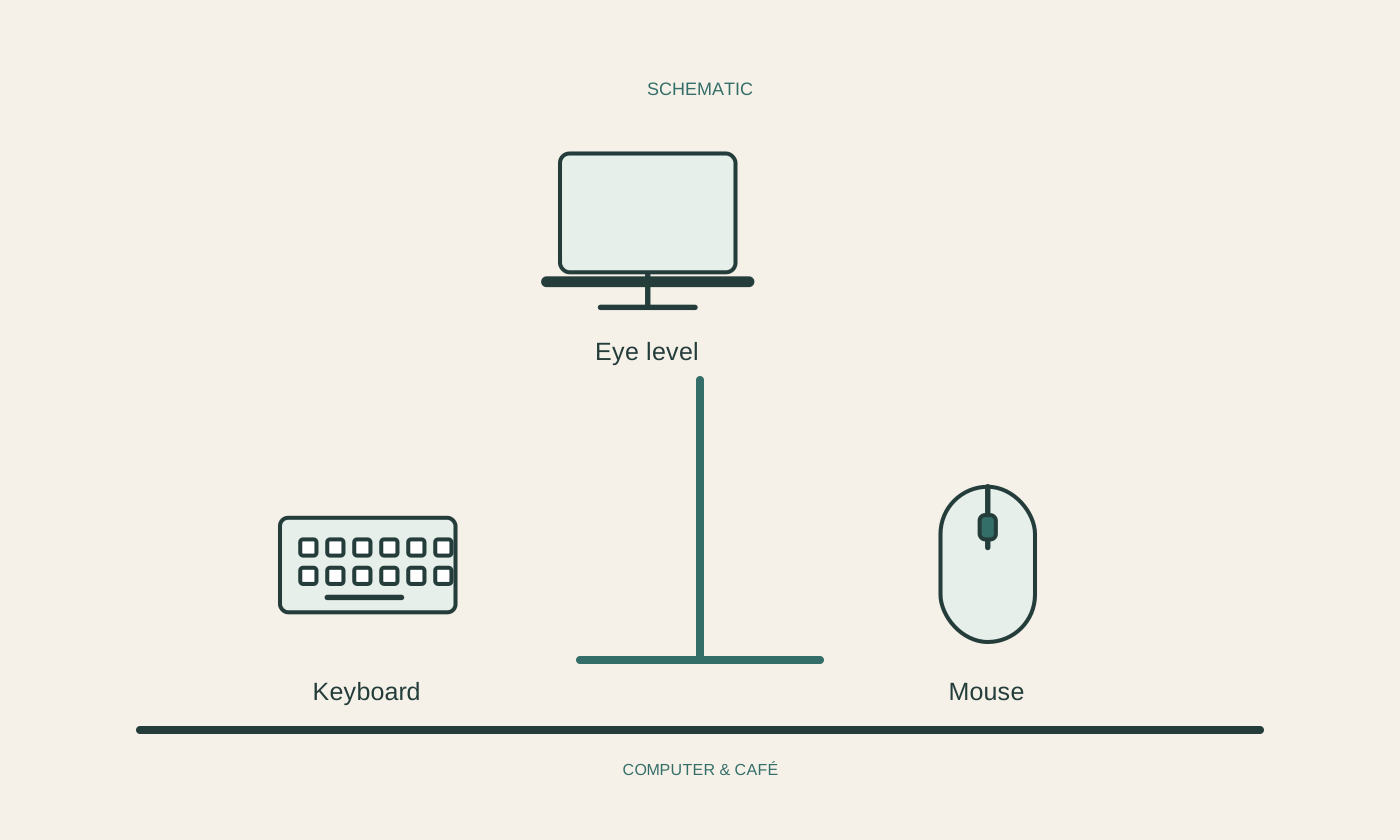
Raising the screen generally raises the built-in keyboard too. Therefore, include an external keyboard and a suitable mouse or other pointing device for everyday operation. Check their footprint before the stand consumes the available desk area. A arrangement that looks spacious with only the laptop present may feel crowded once the actual controls and paperwork are added.
Test the input devices with your computer. Wireless use requires an understood setup, power arrangement and any switching between paired devices. With cables, check length and route. You should be able to move the keyboard without pulling on the raised laptop. Consider the key layout and commands used in your applications as well. The new arrangement should not inadvertently make familiar tasks more difficult to perform.
Check stability and airflow
Place the laptop according to the stand manufacturer’s instructions and check secure support without risky shaking. Contact points should not load unsuitable parts of the computer. Check whether retaining lips obstruct connectors, ventilation openings or closing the display. Not every part of a laptop’s underside is intended to act as an arbitrary supporting surface. The exact design matters.
Keep the manufacturer’s intended air paths clear and consider the power adapter and connected devices too. A stand does not automatically solve a heat problem. If unusual temperature warnings or repeated shutdowns occur, follow the device instructions and obtain qualified support where necessary. Do not try to resolve a suspected fault simply by raising the computer further. Observe the actual symptoms rather than judging solely by touch.
Test a complete working sequence
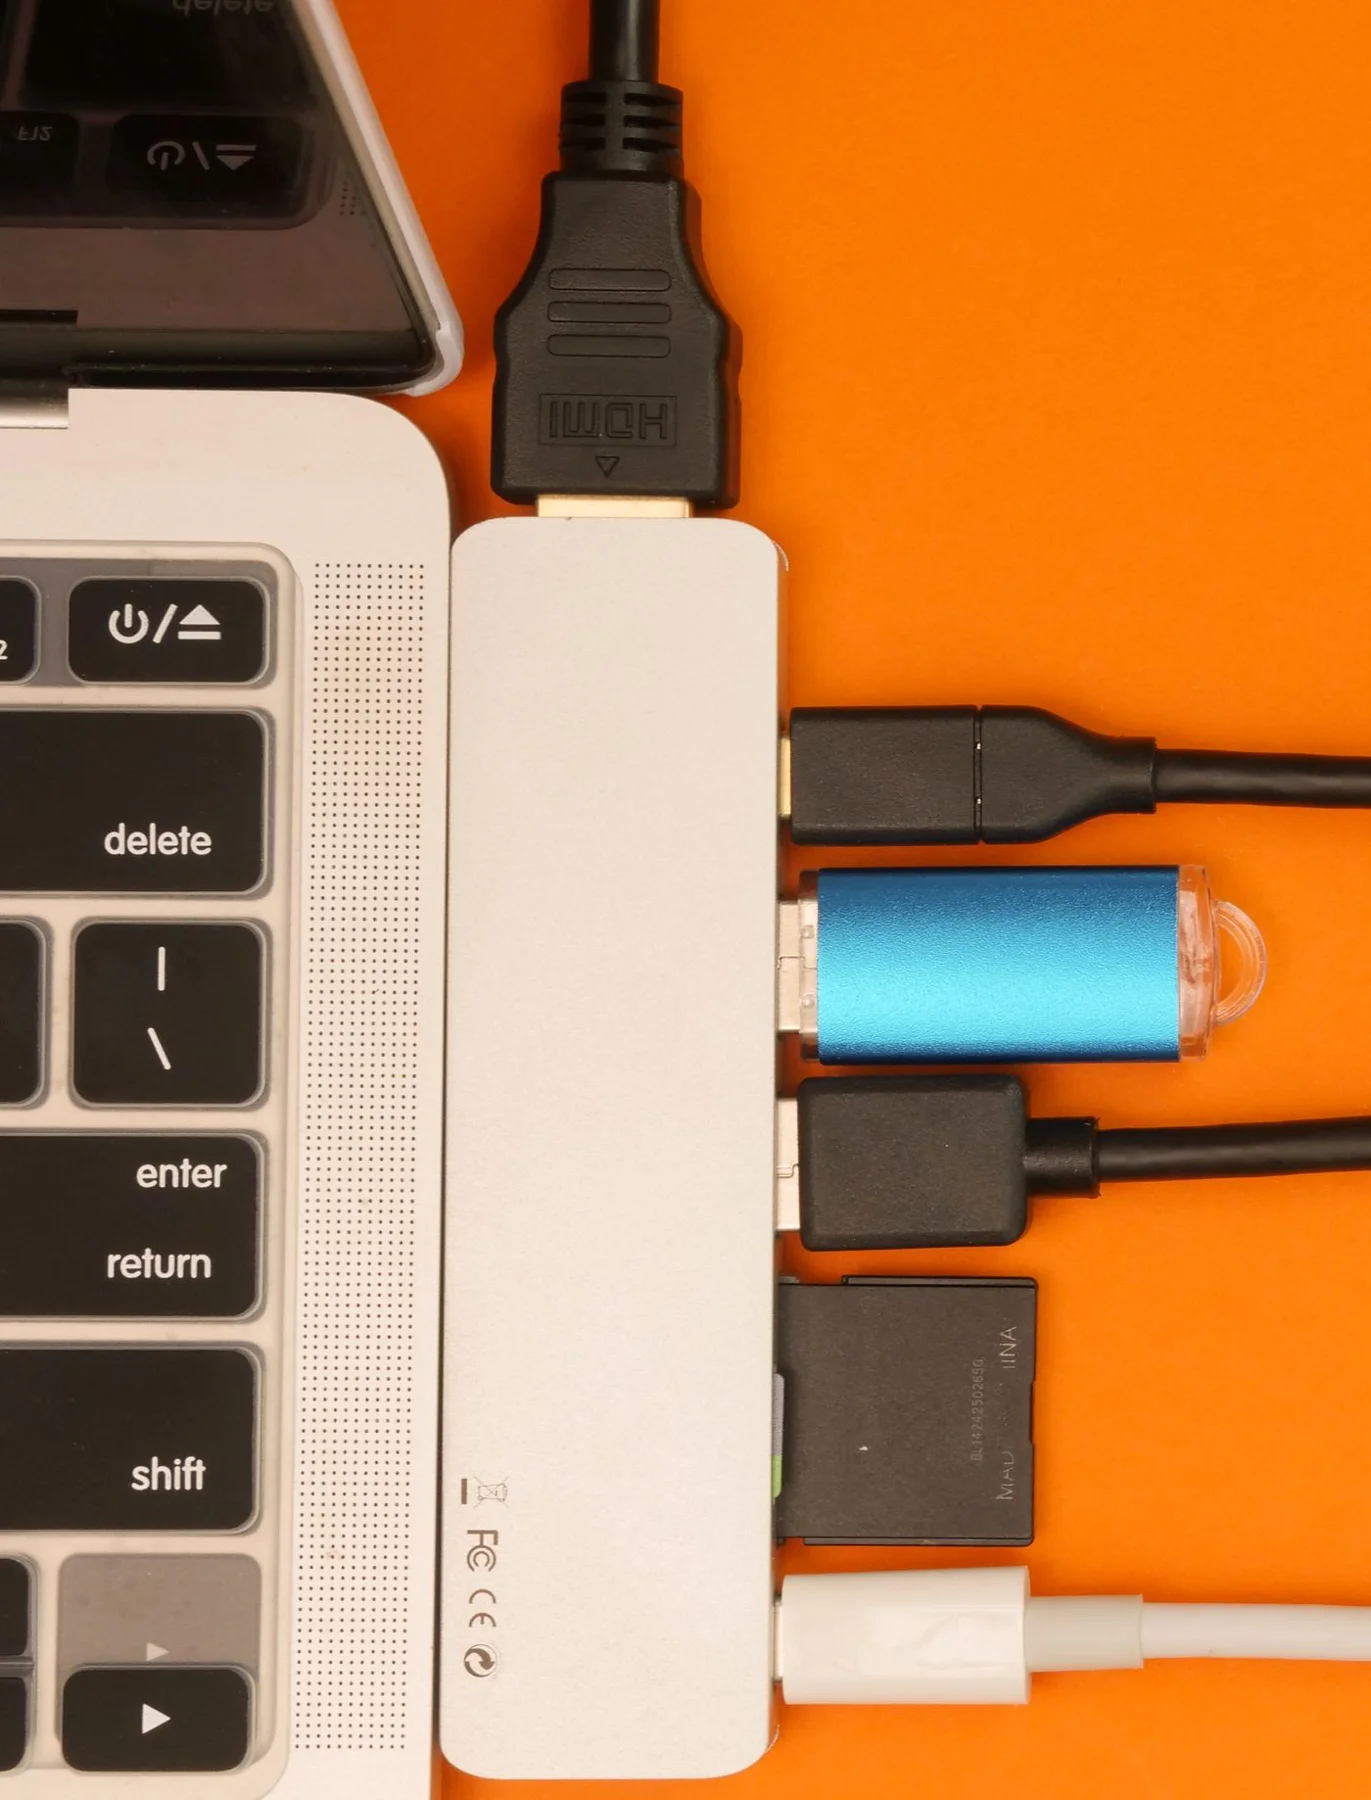
Connect power and accessories with enough slack that cables do not pull sideways on the stand. Check that you can safely remove the laptop when moving elsewhere. Label similar connections where useful so rebuilding the arrangement later is not a guessing exercise. Consider the everyday act of connecting and leaving, not only the appearance of the finished setup.
Then complete a familiar task and compare screen presentation, keyboard position and mouse space. If another monitor is involved, use the system’s display-arrangement controls to match the physical desk. Change only a few things at once so improvements and new obstacles remain recognisable. Final cable routing can wait until the complete arrangement works. A useful stand supports your routine rather than demanding awkward extra movements whenever you connect or operate the computer.
Assess the raised laptop as a complete workspace, including external controls and clear ventilation.